How to root Samsung Galaxy J5 SM-J510G Android 6.0.1 Marshmallow using ODIN software. This twrp recovery is claimed for ( SM-J510F / SM-J510H / SM-J510FN / SM-J510M / SM-J510G / SM-J510Y / SM-J510N ) and tested only on SM-J510H / SM-J510FN / SM-J510F / SM-J510GN. Root files Included TWRP Custom recovery, ODIN and SuperSU. Read notes / Warning on the bottom of this post before perform rooting your Samsung Devices. Follow the instruction carefully and read the warning!
Step by step rooting Samsung Galaxy J5 SM-J510G Android 6.0.1 Marshmallow:
- Download root file from http://www.mediafire.com/file/aqxjqor6bllaorh/Root_Files_SM-J510-2016-Android_6.0.1.rar
- Extract Root_Files_SM-J510-2016-Android_6.0.1.rar ( SuperSU-v2.76-20160630161323, TWRP_3.0.2_SM_J510_2016_Recovery and Odin3_v3.11.1
- Copy file SuperSU-v2.76-20160630161323 to SD Card root
- Make sure OEM unlock and USB debugging option are enabled ( Settings -> Developer options )
- Open ODIN
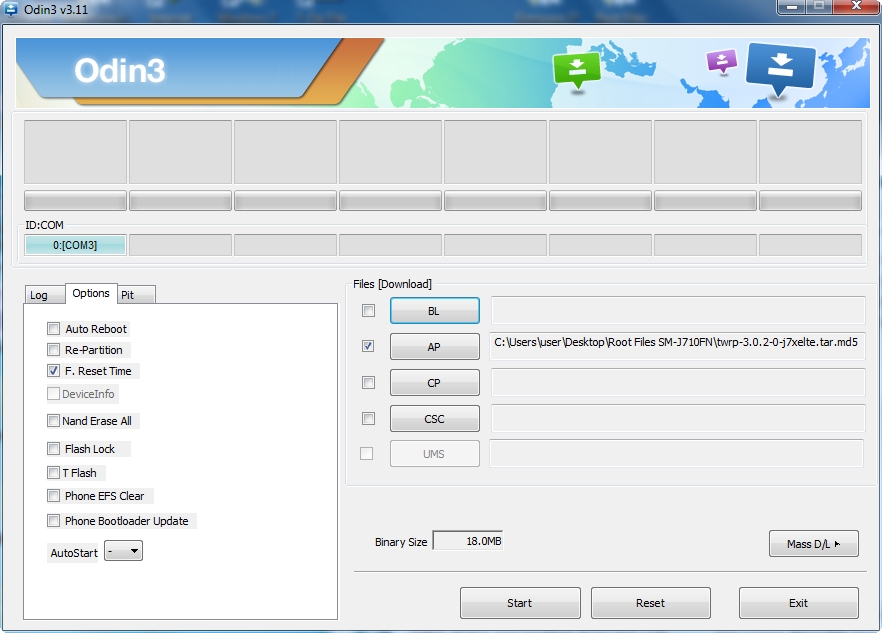
- In Option make sure to ticked F.Reset Time only
- In Files Download ticked AP and pointing to the location of TWRP_3.0.2_SM_J510_2016_Recovery.tar
- Turn off your Samsung Galaxy and open Download Mode or ODIN Mode: To enter Download Mode Press and hold Volume Down key + Home Key, while pressing these keys Press and hold Power key, Release all key when Download / Odin mode appears.
- Connect your Samsung Galaxy to PC using USB Cable and Press Volume Up key.
- Odin software will auto detect port of your device, after detected device, klik Start, wait for a moment.
- After flashing finish remove the battery about 10 seconds and reinsert it.
- Enter TWRP Recovery: Press and hold Volume Up key + Home key, while pressing these keys press and hold power key until TWRP recovery appears.
- Install file SuperSU-v2.76-20160630161323 from SDCard, wait a moment and then choose reboot device.
If you get Boot Loop after root your samsung galaxy , read this How to Fix Boot Loop After Update or Root Samsung Android Firmwares
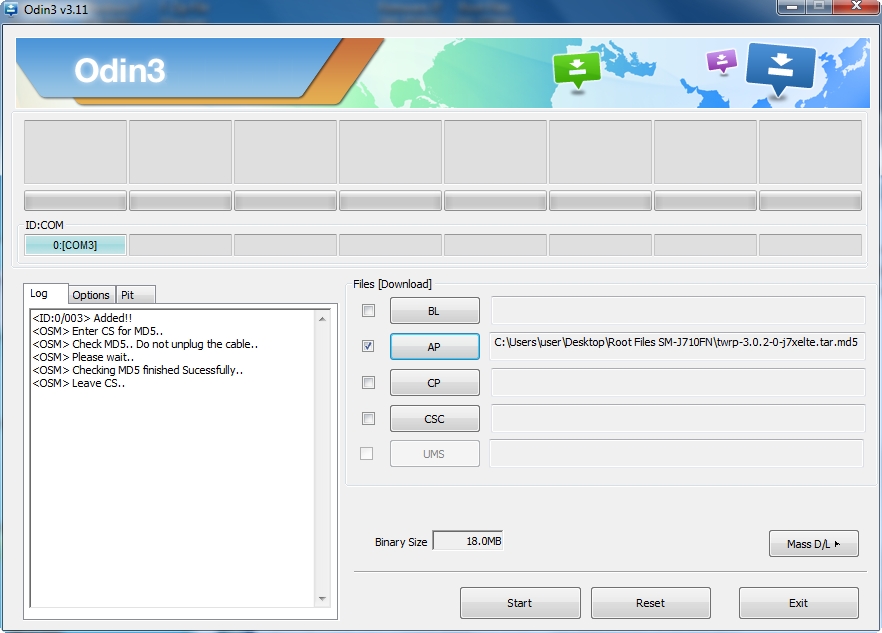
ODIN will look like this picture below:
MD5 File checking
ODIN Option ticked F.Reset Time only
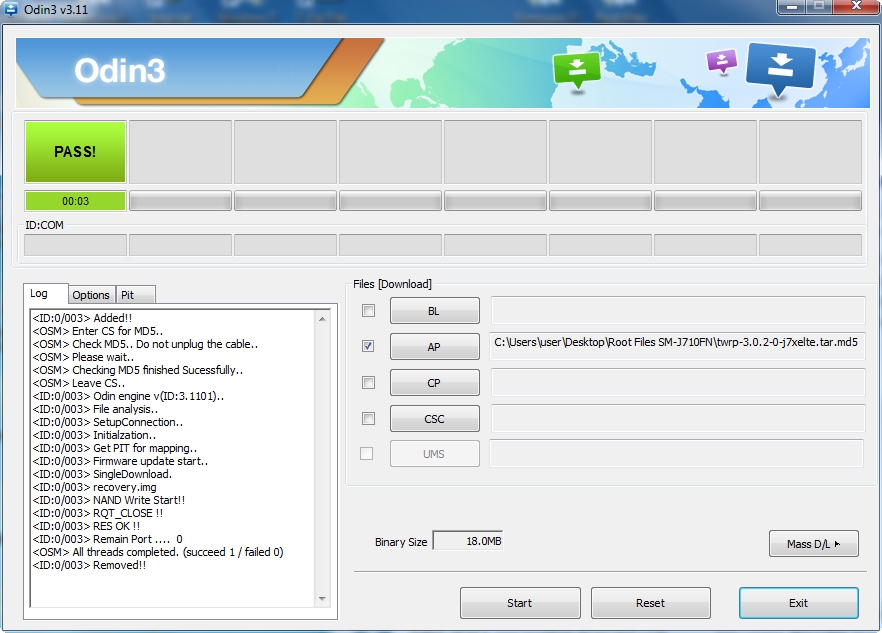
ODIN Flashed the status: PASS!
If you failed flashing the root file you will see the screen like this:
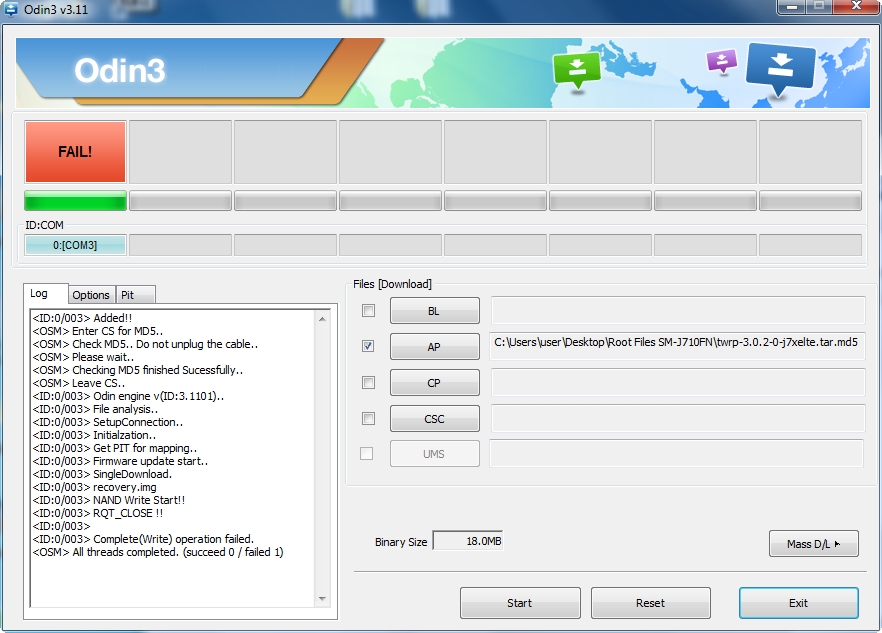
It happened when you forget to enable OEM unlock and USB debugging option ( Settings -> Developer options ). Enable these options and Reflash it again.
WARNING! WARNING! WARNING!
Once your device rooted, Don’t Ever Disable Developer options and Don’t ever Disable OEM unlock
What your risk if you disable these? When your device booting or restarting you can not enter the android and blocked with message “Custom Binary blocked by FRP lock”.
Related post: How to Fix Custom Binary blocked by FRP Lock
Notes / Warning!
- Use at your own risk, I’m not responsible for bricking your device.
- Make sure your Model number are SM-J510H / SM-J510FN / SM-J510F / SM-J510GN. Using the incorrect file may brick your device.
- If your target device has a custom firmware flash counter, Rooting will trigger it. If you’re lucky, Triangle Away has support for your device and can be used to reset the counter.
- If you have a KNOX-enabled device, Rooting will trip the KNOX WARRANTY VOID status !
- If your device storage is encrypted, Rooting will wipe your data !
- If you have locked bootloaders, flashing one of these will probably brick your device – with the exception of Nexus devices, which will usually automatically “OEM unlock” and wipe your data !
- Make sure to backup your important data before root it.
Tags: Android 6.0.1 Marshmallow, J5 SM-J510G, root, TWRP Custom recovery