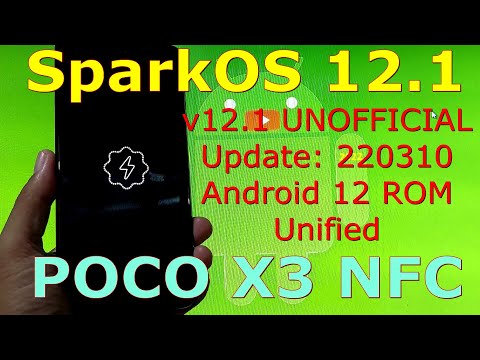
SparkOS 12.1 UNOFFICIAL for Poco X3 NFC Update: 220310. Maintained By @MrTechnoStart. Changelog: Added qti bt support • Added Android 12L style internet and screen record dialogs • Added per app volume • Integrated Google lens to screenshot UI • Added outline icon pack • Added expanded volume panel • Removed Visualizer and added Pulse with lots of options • Added screen off animations • Integrated blur • On the go improvements, read full changelog. Use at your own risk, I’m not responsible for bricking your device.
Download SparkOS 12.1 for Poco X3
- Your phone must be Installed Custom Recovery. If not, you can read How to Install TWRP 3.6.0 Xiaomi POCO X3 NFC – Permanent
- Download Spark-12.1-UNOFFICIAL-surya-20220310.zip
- Download fw_surya_miui_SURYAGlobal_V12.5.5.0.RJGMIXM_450cc10088_11.0.zip
- Download Disable_Dm-Verity_ForceEncrypt_03.04.2020.zip
- Download BiTGApps-arm64-12.0.0-R44_signed.zip ( if necessary )
- Download GCAM 8.3 MOD for Xiaomi Phone
- Download Magisk: Magisk-v24.1.apk or latest rename it to .zip ( if necessary )
- Copy ROM to SD Card ( Recommended )
Install Instructions SparkOS 12.1 for Poco X3
- Enter TWRP Recovery Mode: Turn Power off, Press and Hold Volume Up + Power key, When POCO logo appears release Power key only, keep pressing Volume Up until TWRP Recovery appears.
- First Important Step is to Backup (though depends on you if you wanna be safe or no )
- Select Wipe – Advanced ( Dalvik, Cache, Data ), Swipe to wipe
- Select Install – select fw_surya_miui_SURYAGlobal_V12.5.5.0.RJGMIXM_450cc10088_11.0.zip, Swipe to confirm Flash
- Select Install – select Spark-12.1-UNOFFICIAL-surya-20220310.zip, Swipe to confirm Flash
- Select Install – select Disable_Dm-Verity_ForceEncrypt_03.04.2020.zip, Swipe to confirm Flash ( if necessary )
- Select Wipe – Format Data – type “yes” and confirm ( Optional )
- Select Reboot – System
- Setup the Phone
How to Install GApps ( if necessary )
- Enter TWRP Recovery Mode: Turn Power off, Press and Hold Volume Up + Power key, When POCO logo appears release Power key only, keep pressing Volume Up until TWRP Recovery appears.
- Select Install – select BiTGApps-arm64-12.0.0-R44_signed.zip, Swipe to confirm Flash
- Select Reboot – System
How to Root ( if necessary )
- Enter TWRP Recovery Mode: Turn Power off, Press and Hold Volume Up + Power key, When POCO logo appears release Power key only, keep pressing Volume Up until TWRP Recovery appears.
- Install Magisk-v23.0.zip
- Reboot to System
- Connect Phone to Internet
- Install Magisk app and Open it. Magisk will ask to do additional setups. Let it do its job and the app will automatically reboot your device.
- Done
Watch This Video!
Enter TWRP Recovery
You can enter TWRP recovery with 2 methods: via adb command by type “adb reboot recovery” and by pressing keys combinations ( Turn power off, press and hold volume up + Power key, when POCO logo appears release power key, keep pressing volume until TWRP recovery appears )
Notes / Warning!
- Use at your own risk, I’m not responsible for bricking your device.
- Using the incorrect file may brick your device.
- Make sure to backup your important data before root it.
Tags: Android 12 ROM, custom rom for Poco X3, GCAM MOD, poco x3 nfc, root, root poco x3 nfc, SparkOS 12.1, surya, TWRP 3.6.0, TWRP for Poco
Comments are closed here.