How to Root Custom ROM for Redmi Note 8 Pro that CFW Support ( ex. EvolutionX, CesiumOS etc ). Before Rooting, Anti-brick factory loader must be installed first. Then flashing TWRP that CFW support ( twrp CFW ) and CFW A10 Begonia. If something goes wrong, you can enter Fastboot Mode / Bootloader from Anti-brick factory preloader. Do this at your own risk, I’m not responsible for bricking your device.
What is CFW?
CFW is a combination of multiple Xiaomi firmware packages. CFW enables you to use the new builds without worrying about bricks while running newer proprietary vendor software. These builds are unified for all variants of the Redmi Note 8 Pro and have pretty much all issues fixed at this point. The CFW contains firmware files from the latest A9 and latest A10 firmware image. Along with this, the CFW also installs the factory preloader and bootloader (LK) to make sure you’re safe when modifying your device. Source – XDA Forums.
Download and Installed
- Anti-brick Factory preloader: read How to Install Anti-brick factory preloader on Redmi Note 8 Pro Android 9
- Download TWRP: twrp-CFW-3.3.1-0-begonia_UNOFFICIAL_0506 and rename it to twrpcfw.img
- Download CFW: begonia-A10-CFW_20200530.zip Copy to SD Card
- Download Magisk-v20.4.zip if necessary – copy to SD Card
- Download MagiskManager-v7.5.1.apk if necessary – copy to SD Card
Rooting Instructions on Redmi Note 8 Pro TWRP Support + CFW Begonia:
Make sure the Redmi Note 8 Pro Installed Anti-brick Factory Preloader
STEP 1
- Enabled USB Debugging on your phone
- Connect the phone to PC
STEP 2
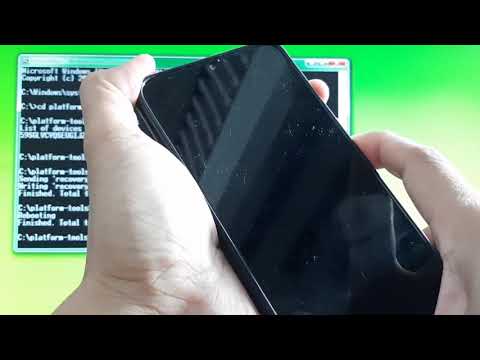
- Copy twrpcfw.img to c:\platform-tools
- Run CMD command as Run as Administrator on your PC
- Change folder to c:\platform-tools
STEP 3
- type: ‘adb devices’ to check connection phone and pc
- type: ‘adb reboot bootloader’ ( boot phone to fastboot mode )
- type: ‘fastboot flash recovery twrpcfw.img’
STEP 4
- type: ‘fastboot reboot’
- Press and Hold volume Up + power key quickly when screen blank. When phone vibrate once, release power key only, keep pressing Volume Up until Factory Preloader appears
- Use volume up to select “Recovery Mode” and press Volume Down to confirm
STEP 5
- Select Wipe – Format Data, type “yes” and confirm
- Select Wipe – Advanced Wipe ( select “Dalvik, Cache, System” ) Swipe to Wipe
- Select Install ( If image file in SD Card: Select Storage – Micro SD card – OK ) – select begonia-A10-CFW_20200530.zip Swipe to confirm Flash
- Select Install ( If image file in SD Card: Select Storage – Micro SD card – OK ) – select Magisk-v20.4.zip Swipe to confirm Flash
- Select Reboot – System
- Done!
Notes / Warning!
- Use at your own risk, I’m not responsible for bricking your device.
- Rooting will result in a void warranty
- Using the incorrect file may brick your device.
- Make sure to backup your important data before root it.
Watch this video:
Tags: CFW A10 Begonia, cfw begonia, redmi note 8 pro, Root CFW custom rom, TWRP CFW
Comments are closed here.